Borrowing from one of my all-time favorite ChannelFireball article formats, today I bring you two Flesh and Blood “What’s the Play” situations for Blitz!
One of the most unique things about Flesh and Blood as a game is that every card can be utilized in a number of different ways from being played, pitched, defended with or set up in Arsenal. Because of this, on any given turn, there can be a number of lines of play to take and you’ll find that sometimes, one clear play is the correct line.
However, often there’ll be more than one play that could be deemed correct, dependent on the situation of the game and based on how both players plan to play out the proceeding turns of the game. At the very least, multiple plays may be very close and difficult to decipher while playing in a timely manner.
One of the most important skills in Flesh and Blood is the ability to weigh up lines of play and options quickly in each turn cycle. While there might not always be a single best play, there will often be several incorrect plays or plays that’ll severally hamper the likelihood of you winning the game.
The way to avoid these plays and find solid, profitable lines of play is to work on your turn-by-turn problem solving skills! So, journey with me today across two game situations that don’t necessarily have one best play. I’ve provided for each the thought process and important factors that each player should be considering when evaluating each situation to arrive at a play.
In this game state situation below, you’re the Ira, Crimson Haze player defending an attack from the Dorinthea player in the later stages of the game, with both players having nearly cycled through their entire decks.
Game State – Ira, Crimson Haze
- Four cards in hand (Rushing River (Blue), Fluster Fist (Blue), Torrent of Tempo (Red), Command and Conquer)
- One card in Arsenal (Sigil of Solace (Red))
- One armor from equipment left, with Fyendal’s Spring Tunic on one counter
- Weapons are Harmonized Kodachi and Zephyr Needle
Game State – Dorinthea
- One card in Arsenal, set last turn
- One unknown card in hand
- Dawnblade attacking after the player has activated Courage of Bladehold’s ability
- Two counters on Dawnblade
- No resources up
Key Considerations/Factors
-
- Life total is Ira at two, Dorinthea at two
- Warrior still has one Singing Steelblade (pitched to bottom earlier), one Overpower (Red) and multiple one-cost attack reactions for +3 still in deck and one Ironsong Response (Red). You have yet to see Rout and also the second Glint the Quicksilver.
- Left for you on Ira is just the one Sigil of Solace in Arsenal, one more Flic Flak (Yellow) and a combination of red attack actions and blue resource cards. This is your last Command and Conquer.
- The card in the Warrior player’s Arsenal was placed there at the end of last turn after no cards were used from hand to defend with from the Ira side.
Thought Process
There are a few things to consider as priority in this situation. The first is to identify the maximum damage the Warrior player can output here and work backwards from that. By working this out, you have a base of the maximum you need to defend with in order to survive the turn. With the Warrior player on just two life, and with no equipment left to defend with, you’re in a good position as the Ira player if you can navigate this combat chain and keep some number of cards for your turn.
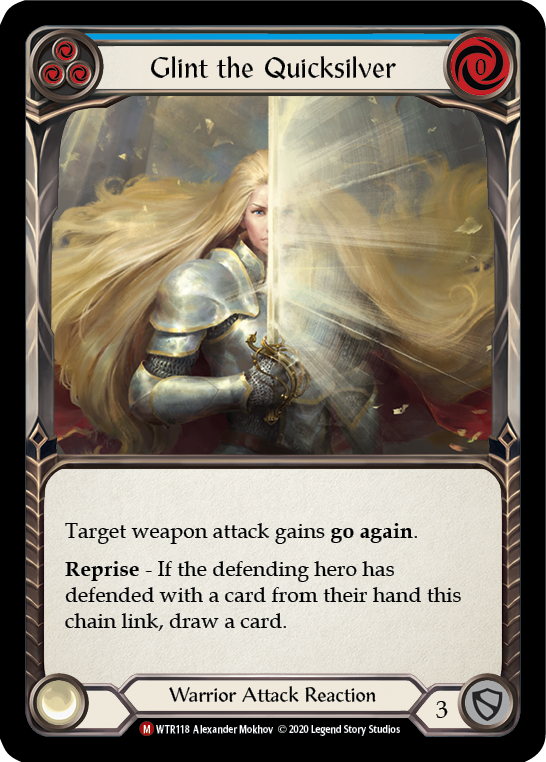
Key cards to consider would be the remaining Overpower (Red), Glint the Quicksilver and Singing Steelblade. Luckily, the Steelblade was pitched earlier and you know it can’t possibly be present in this current hand.
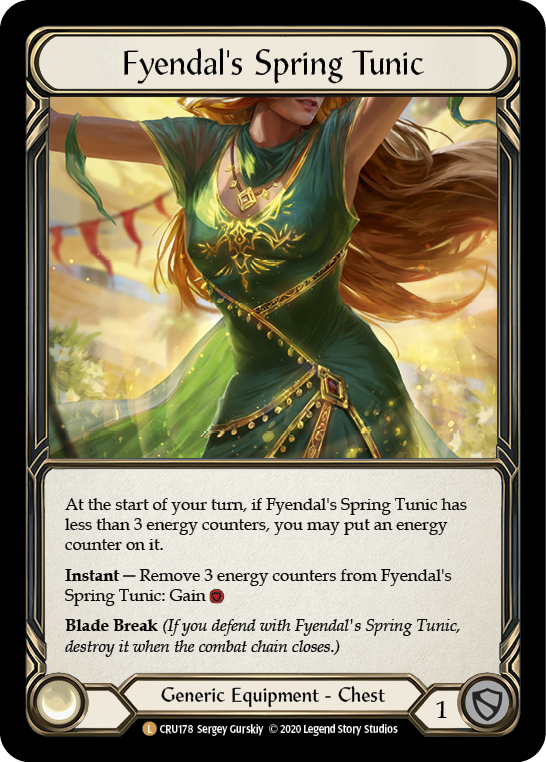
Defending with just the Fyendal’s Spring Tunic to avoid triggering reprise could be one option. Defending with two cards to play around +3 on Dawnblade, with the Sigil of Solace (Red) up to save you being another option. A key consideration and thought process to work through is to determine that, if you survive this turn, what’s the best pressure you can put back on the Warrior player to keep the tempo? Can you ensure that they can’t swing back at you with multiple cards up on their following turn?
This could even be a situation where a small risk might best be taken by keeping cards that’ll lead to the tempo completely shifting to your side. This means that if lethal isn’t dealt here by the Warrior player, then the game should be effectively over in your favor. For example, you’ll be defending with maximum two cards to have the resources and a red attack action for a weapon, or weapons into attack action line.
The Play
I’ve outlined some of the key thoughts that a player should go through above in evaluating this situation. It’s important to weigh up not only the face value of the defense, but also what it means for your opponent and then for you on your turn.
As for my play, I’d elect to defend with two cards from hand, Command and Conquer with Rushing River (Blue), plus the Fyendal’s Spring Tunic for seven total. The reason I prefer this line is that you can play around any card that the opponent might have for lethal on this chain link. You’ll also still have a blue card and Torrent of Tempo (Red) for your turn, forcing the opponent to defend with a minimum of three cards to survive.
The worst-case scenario is for the opponent has Glint the Quicksilver in Arsenal or hand and, after the reprise draw effect, has enough resources to play an attack reaction for +3. This will get their weapon to potentially 6 with Braveforge Bracers and then they can attack again with go again to force out the remaining two cards from your hand. This would leave you with just the Sigil in Arsenal, one life and no turn. However, that requires a very specific three cards from the opponent.
In the below situation, the Ira, Crimson Haze opponent is on just six life. Can you find lethal from this four card hand below with Rhinar wielding Mandible Claws or will you fall just short? With you on just two life, your opponent on Ira is going to be well positioned to put you under pressure to defend with multiple cards each turn if you can’t close it out this turn.
Key Considerations/Factors
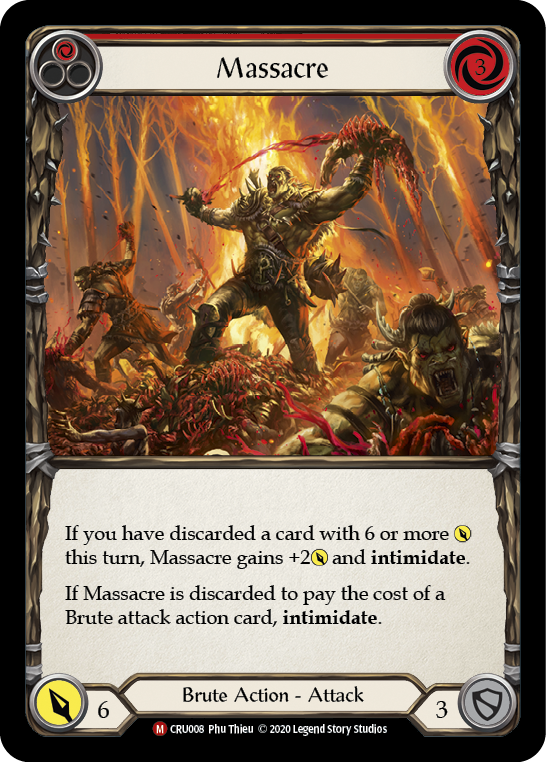
- In hand you have Massacre, Wrecker Romp (Yellow), Barraging Beatdown (Blue), Bloodrush Bellow.
- For equipment, you still have Barkbone Strapping with a Battleworn counter on it, Scabskin Leathers and Arcanite Skullcap with two and one counters respectively.
- Life totals are Rhinar at two to Ira at six.
- The Ira player has no defensive equipment left to use and just four cards in hand with no Arsenal set.
- The opponent has one Flic Flak (Red) left in deck, which you believe is in their hand this turn due to pitch order.
- The Ira player has played two Sigil of Solace (Red) this game already
The Thought Process
When in a position to potentially win the game, the first line to work through is if it can be done with absolute guarantee from the available cards. In this case the answer is not 100 percent.
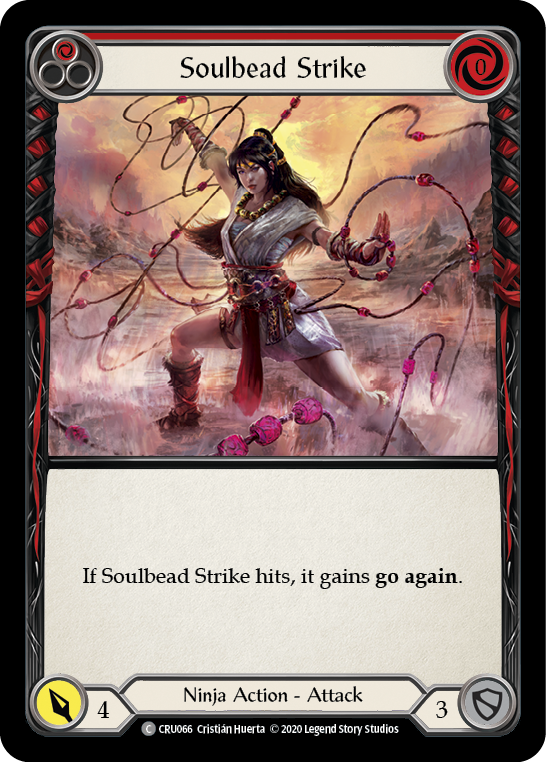
The most face up play in hand is to play Barraging Beatdown (Blue) to intimidate a card from the opponent, followed by playing Wrecker Romp (Yellow) pitching Bloodrush Bellow discarding Massacre to Intimidate two more cards and attack for nine with the opponent left with one card in hand to defend with. If that last card is Flic Flak (Red), they could defend with it, taking five, going to one and have a three-card hand to come back at you. If it’s another card, that’ll be game.
Every other play available to you would rely on drawing cards form the top of the deck with Bloodrush Bellow or leaving it to the dice with Scabskin Leathers and Barkbone Strapping. If you’ve cycled through the deck and possibly know what the next two cards on top are, you could deduce if the kill is guaranteed this way certainly. However, that’s going to be extremely difficult most likely unless you’ve mapped your pitch down to the card!
The next line of thought to work through is what cards Bloodrush Bellow would need to draw you in order to guarantee a kill. In addition, does it work out better to play the Barraging Beatdown (Blue) prior to Bloodrush Bellow or use it to pitch and play Bloodrush Bellow?
We start to see that this isn’t a simple turn at all. With so many lines to think through in a short space of time, it illustrates the concept well that there often is no one clear and obvious best play. Sure, if you could map every card out in the deck and combine with probabilities of dice rolls for the equipment, you could come to the correct decision on the best play eventually. However, I think it’s pretty impossible to do so in a timely manner.
The reality is that practice and many games will throw up similar situations to this and thus allow you to rely on previous knowledge and play patterns to answer some of these questions fairly quickly to arrive at one of the better lines of play.
The Play
The first play discussed gives a 75 percent chance to just straight up win. With a one in four chance for the Flic Flak (Red) not being intimidated, there’s a line which I do like. However, you could possibly have a better chance to find the win with another play that could work out well depending on what’s left in the deck.
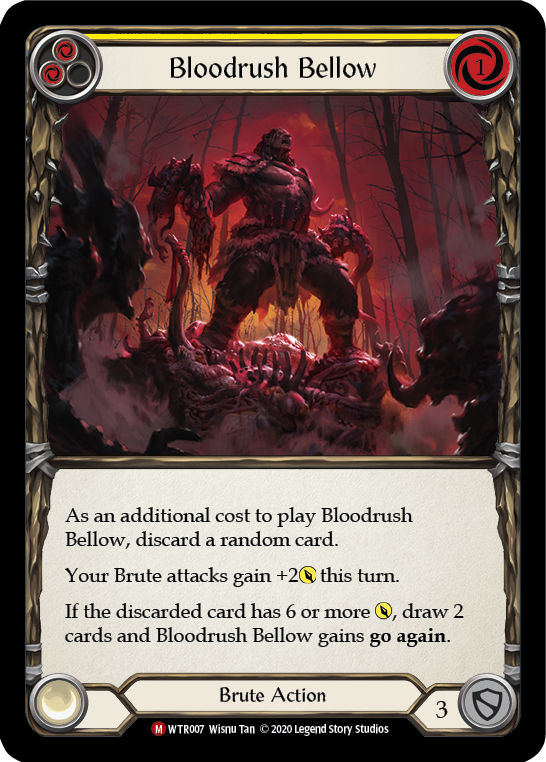
Pitch Barraging Beatdown (Blue) to play Bloodrush Bellow, discarding either Massacre or Wrecker Romp (Yellow), intimidate 1 and draw two cards. With the two remaining resources, attack with the first Mandible Claw for five. The opponent can either deicide to not defend and go to one life, or defend for likely four with Flic Flak (Red) (if it wasn’t intimidated), going down to five.
If your two cards drawn from Bloodrush Bellow are a blue and a six or higher power attack action, then depending on the third card left in hand (be it the Massacre or Wrecker Romp (Yellow)), you have two good lines. If you’re left with Massacre and the six or more attack card is yellow, then you have five resources to attack with the second Claw and then Massacre and guarantee lethal.
On the other hand, if the other card is red, you can roll for Barkbone Strapping to get a resource on a 66 percent chance and make that same play. The same is true for Wrecker Romp (Yellow), if it’s left in hand, a blue card and a six or more cost attack with one resource from Barkbone, which equals lethal damage. This play does also open up other avenues, such as drawing another Bloodrush Bellow or Alpha Rampage, with the latter also being lethal!
Well, there you have it, two Blitz “what’s the play” game situations. The big takeaway? Well, I would hope for all reading that it’s how this game throws up many interesting game situations that aren’t easy to navigate. Flesh and Blood really isn’t a game you’ll win with just one single play. Turns like these over the course of the game will determine the result in almost every match.
How would you play these two game situations? Let us know in the comments how and why you would play these two very different Blitz turns out. Until next time, good luck to all out there competing the final two weeks of Skirmishes around the globe!


