With the upcoming Road to Nationals events being the Uprising Limited draft format, it’s crucial you are aware of the advanced interactions in the set. In the Limited format such as a draft, the smallest edge can be the difference between a win and a loss, with many games being decided by a single point of life. In this article, I will outline three interactions that I think every player should be aware of in order to have the highest chance to qualify for your country’s nationals tournament and perform at the highest level in any Uprising draft.
Uprising has a lot of prevention effects in the format, such as quell, ward and the new Helio’s Mitre.
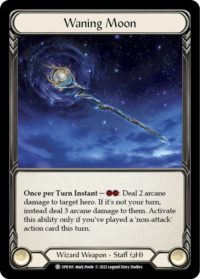
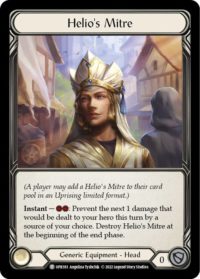
The main thing to understand about these prevention effects is the difference between targeted prevention effects like Oasis Respite and prevention “shields” such as Helio’s Mitre and Sand Cover. Oasis Respite targets the source of damage, while a card with ward eats up the damage from the next source. This is especially impactful when Iyslander is involved. Let’s have a look at the following example.
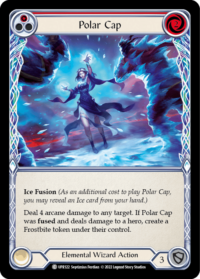

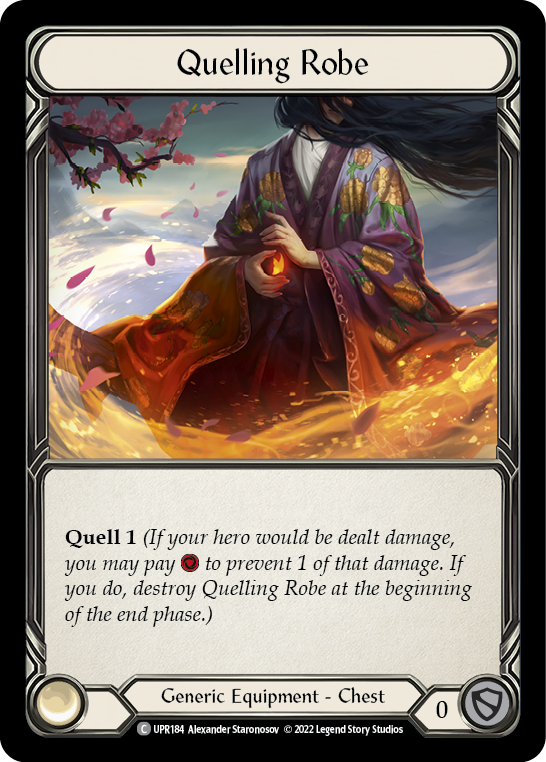
Another useful thing to understand is Quell. Quell is a replacement effect that occurs when a player is taking damage. This means it works in a similar fashion to arcane barrier in the damage step. What this means is, once your opponent passes during the reaction step and you pass back, there is no priority when they decide to activate their Quell equipment. Let’s illustrate how this works in the following example.
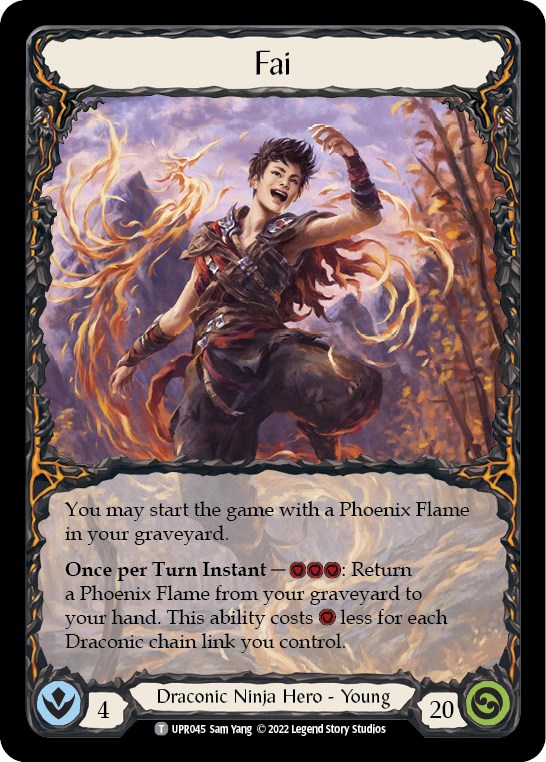
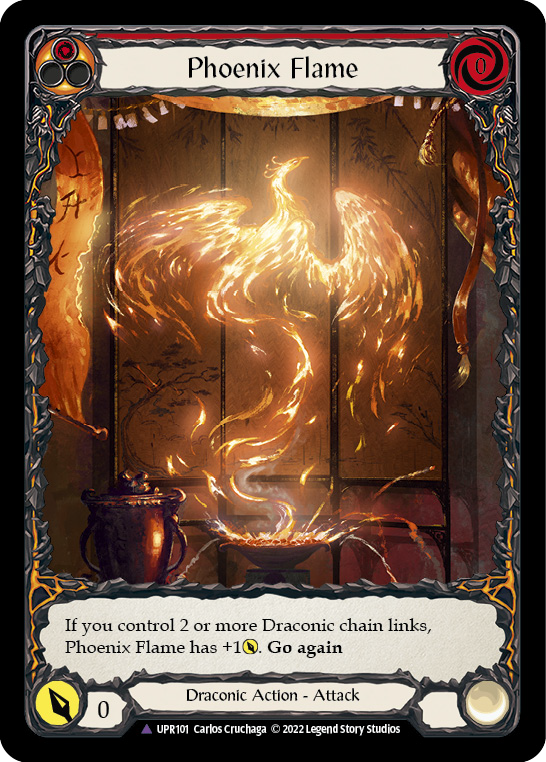
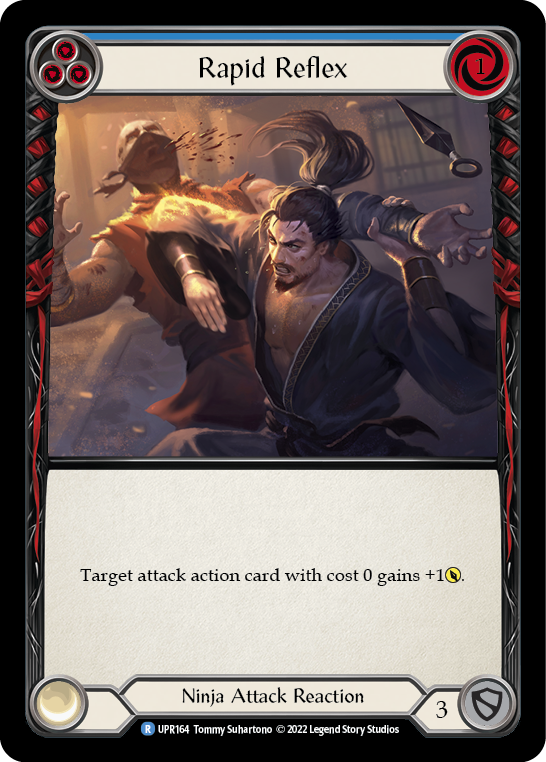
You’re playing Fai. Your opponent is on one life. You are attacking them with a Phoenix Flame for one with one resource up and one card in hand. That card is a blue Rapid Reflex. They declare no defense. Because they’re facing lethal, you decide to pass in the reaction step and hold your Rapid Reflex, in case they have a Sand Cover or Oasis Respite. The opponent also passes their priority in the reaction step and you both go to the damage step. Your opponent uses quell to stop the one point of damage from Phoenix Flame. Because there’s no priority in the damage step, you cannot play your Rapid Reflex and push through the one point of damage. You could have played out the Rapid Reflex in the reaction step, but you do become vulnerable to cards like Sand Cover and Oasis Respite.
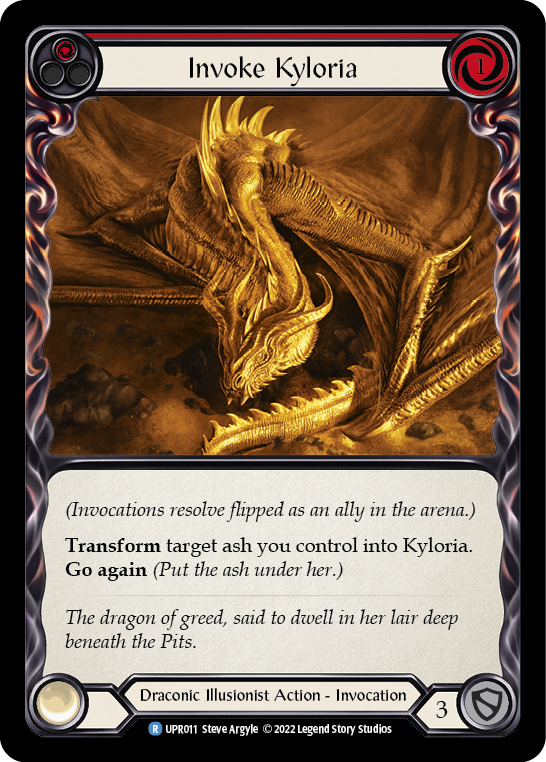
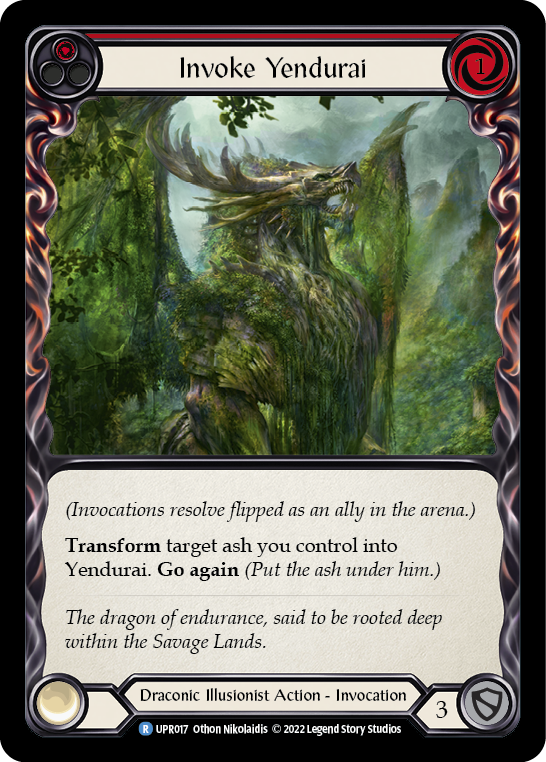
With Dromai, the new Illusionist hero, being one of the three heroes in Uprising, it’s important to understand how Ash and transforming Ash works. The key distinction is between cards that say “transform target Ash you control” and “transform up to one Ash you control.” This subtle distinction has huge implications when you do not control any Ash. All the dragon invocations like Invoke Kyloria or Invoke Yendurai say “transform target Ash you control.” This means you cannot play the card if you do not control an Ash. You have to have a legal target to play these invocations, even if you can pitch a red card to play them. You would get the Ash after you have declared a legal target for your invocations.
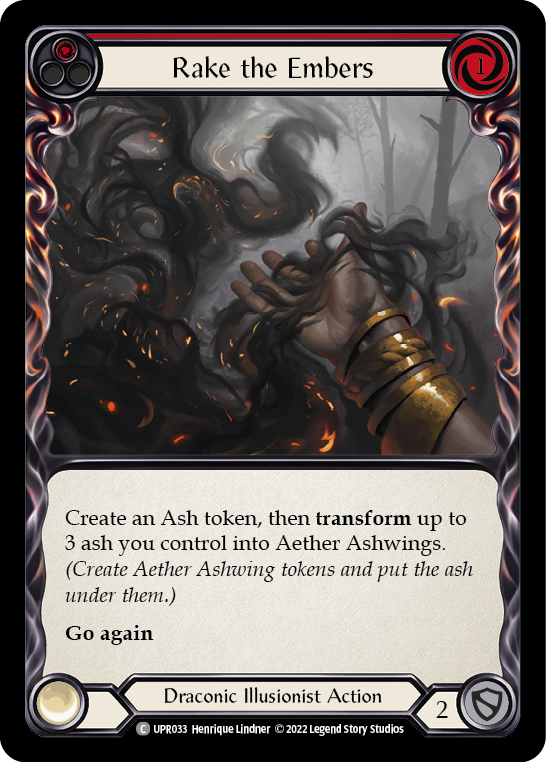
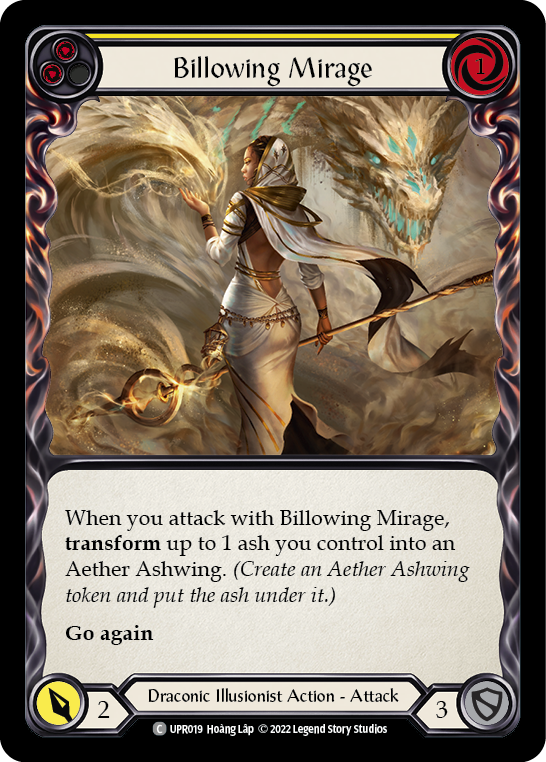
However, cards that say “transform up to…” like Rake the Embers and Billowing Mirage can be played without having a target for their ability. This means you could potentially not have any Ash, then pitch a red card to Billowing Mirage, play it and then target the Ash you have created with the Billowing Mirage. This distinction is crucial and is a huge part of Dromai’s Ash management.
The last one is my favorite because it’s an interaction involving the only reprint in the set – Scar for a Scar. In Welcome to Rathe, the go again was always available, as there were no instant shenanigans that could affect this ability. However, in Uprising, there is. Iyslander can shoot spells from her Arsenal as an instant, which has interesting applications for Scar for a Scar. You can respond to the go again trigger by shooting yourself.


These three are just a few of many intricate interactions present in the Uprising set. These make the draft format exciting and rewards players for knowing the rules and using these skills to their advantage. I hope these examples have clarified some questions you might have had about the format and that this knowledge becomes useful for you to take out those local Road to Nationals events. My sneaky hope is that you manage to use the knowledge about Scar for a Scar go again trigger to stop an opponent in their tracks by denying their go again to take out the title! Oh, and just so you know, you can even target yourself with Waning Moon for extra points.


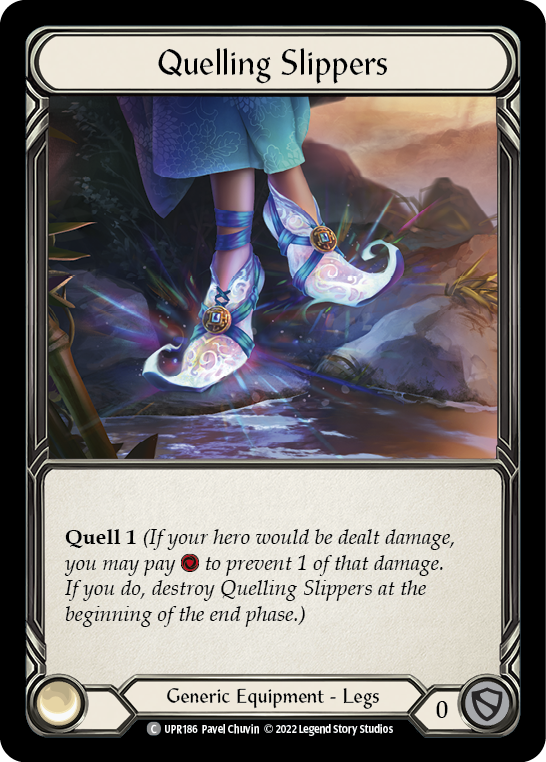
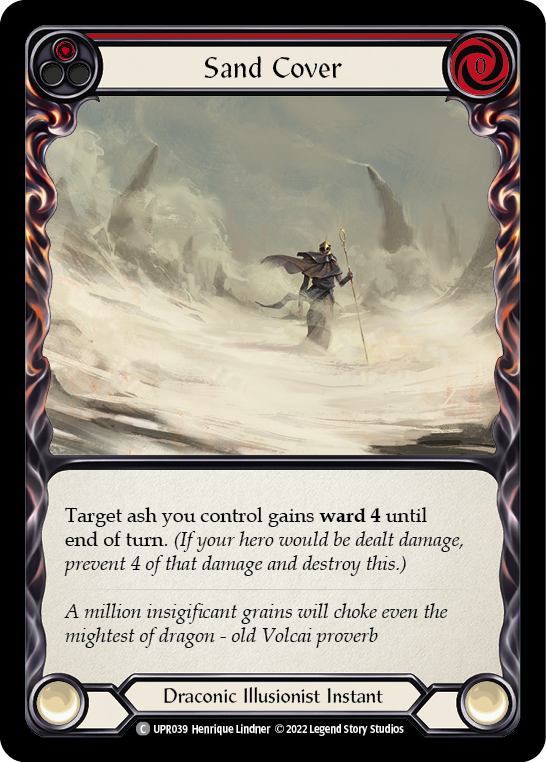
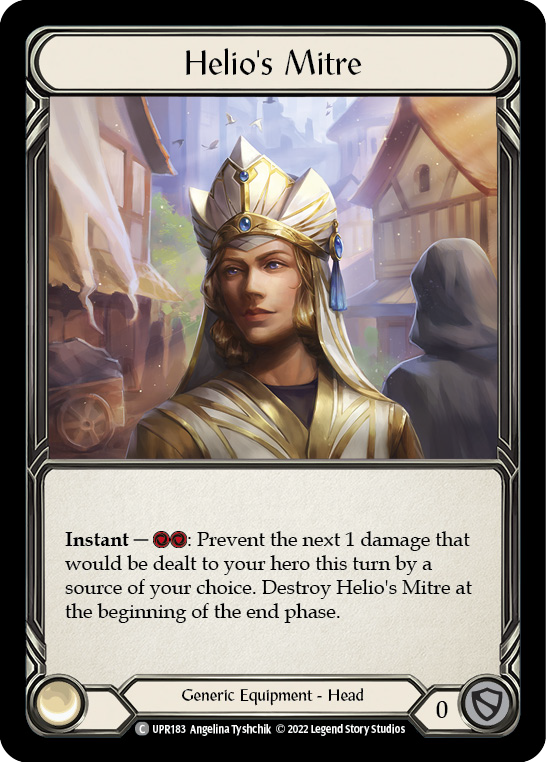
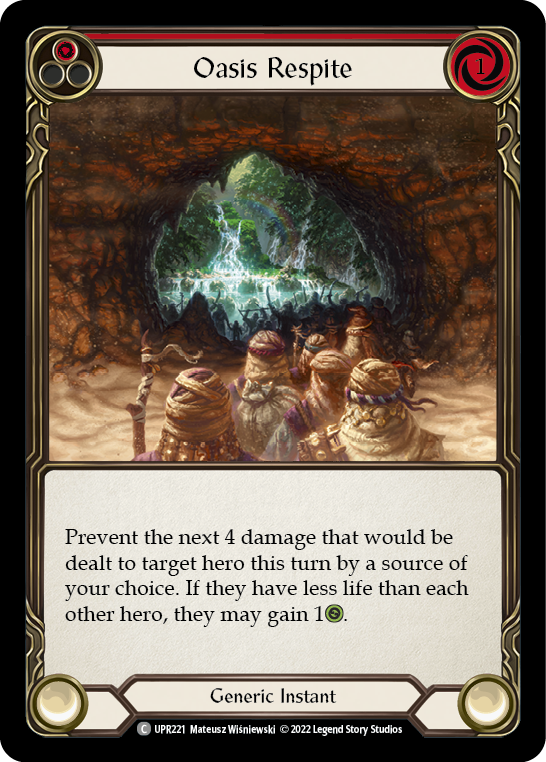


So I’m just a little confused on why Helios Mitre wouldn’t completely prevent the damage from polar cap when it says “prevent damage that would be dealt to your hear by a source of your choice” as well. Could you not pay 8 and prevent 4 damage specifically from the Polar Cap just like you would with Oasis Respite?
Helio’s Mitre AND Oasis Respite work in the same way, you select the source, he wanted to give the example with Ward 4 but made a mistake 😀